There’s a famous story about bakers alerting the city of Vienna to Turkish attack years and years ago, using the Ottoman’s crescent symbol as something worth a ferocious bite. Whatever its origins, I have wanted to master the croissant for a long time, as well. I look to my friend, Vincent Talleu, who seems to make it look easy.
My challenge has been the finesse of lamination, getting past the layers that lead to something delightfully ethearal yet tactile, crisp but light. Finally after so many years, I think it’s come to me.
Here are the steps in making the croissants.
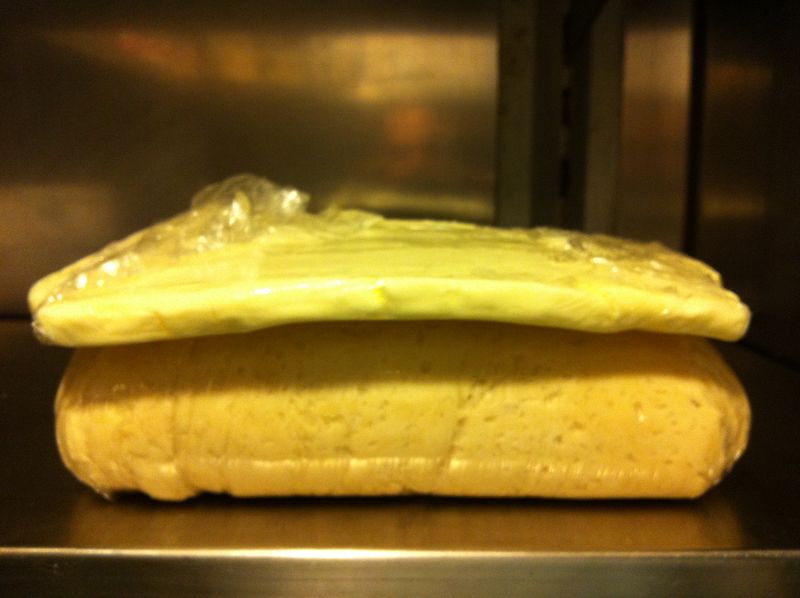
1. The dough (Detrempe ) and butter block, the cornerstones of making the layers. The detrempe is made with flour, milk/water, yeast, sugar and salt. Because of issues of enzymes in milk as well osmotolerant yeast, you have to work out how to introduce it into the dough, once the dough comes together add slowly in two cycles. It’s the amount of sugar, usually levels over 5% in a dough can be troublesome in rising sweet dough.
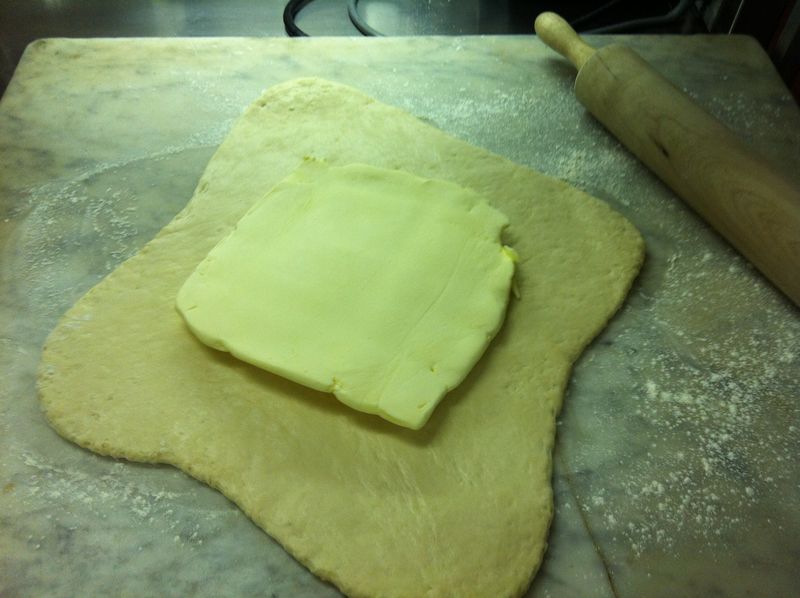
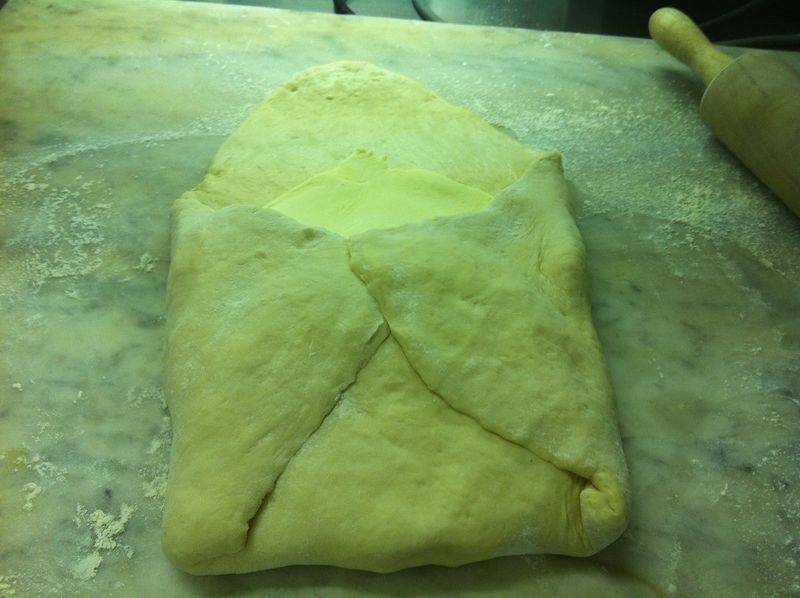
2. Enveloping the dough around the butter block. Several factors weigh in; dough and butter should be at equal temperature to prevent smearing. You need to refrigerate the dough between rolling and folding dough, at least 30 minutes to an hour depending on ambient temperatures.
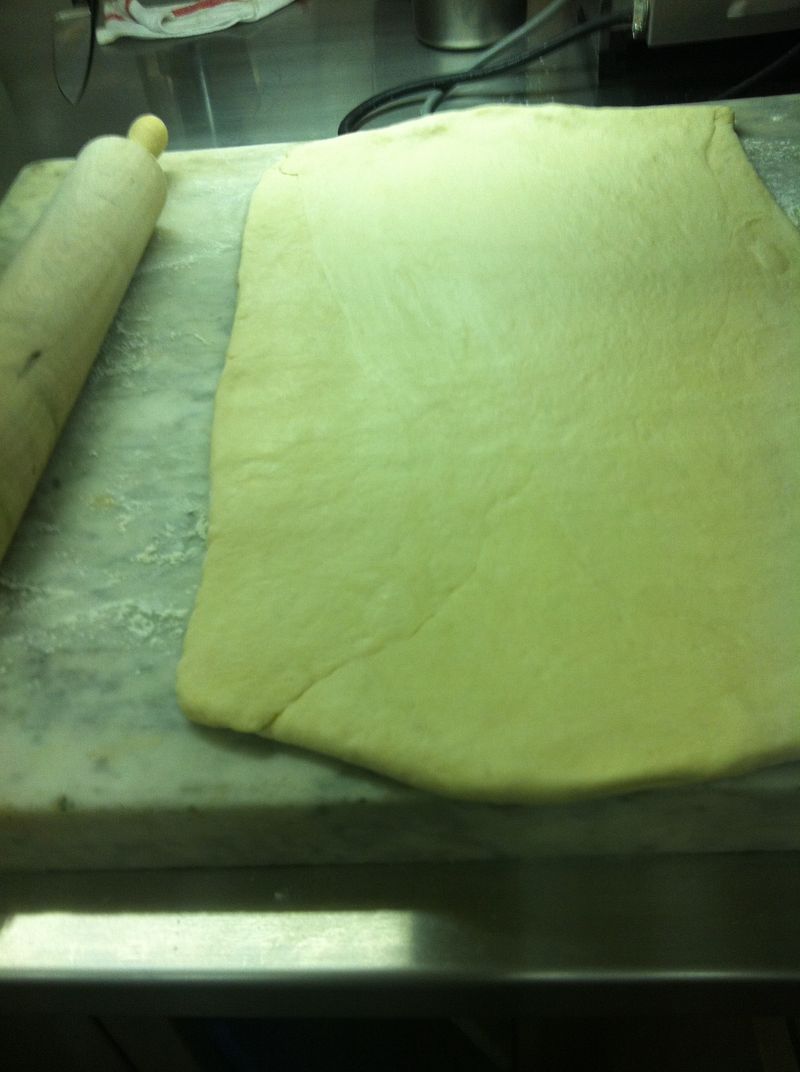
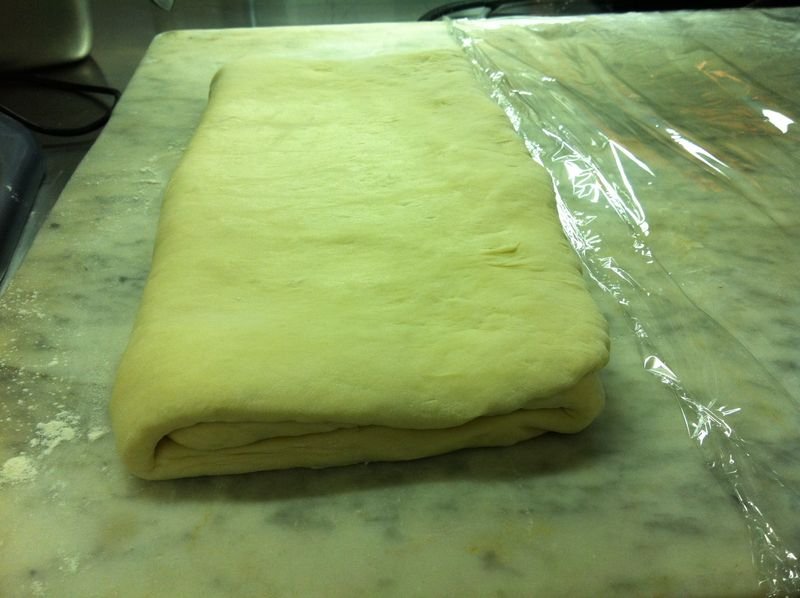
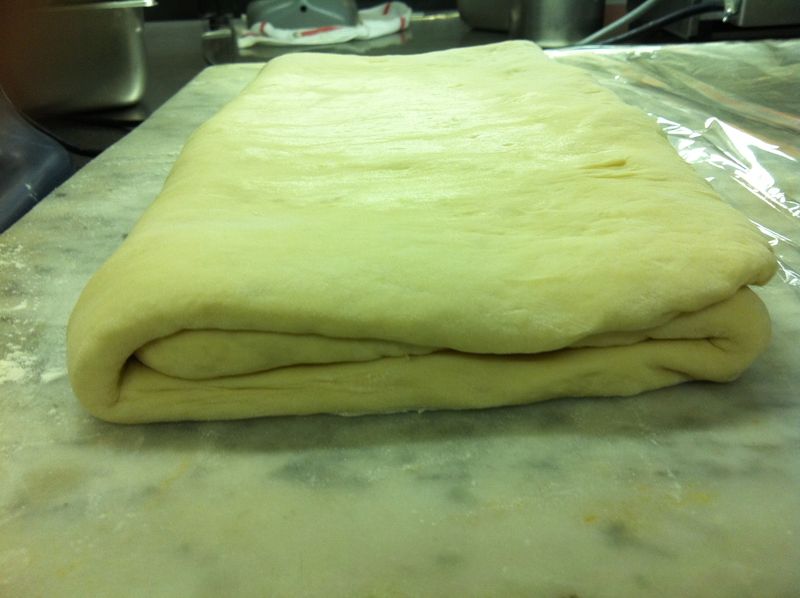
3. Once the butter (25 percent of the dough’s total weight) is wrapped within, roll out the dough and give it one of three folds.
Rolled and ready for first fold….
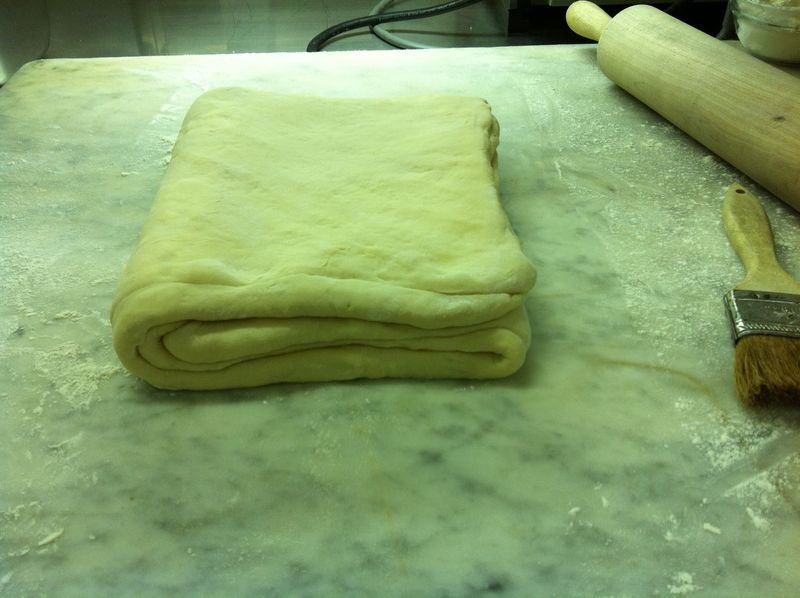
The edges aren’t perfectly uniform, but if you cut into the dough, you would notice the layer structure in the dough is progressing after each fold. Always dust off excess flour which can inhibit good rising and show up in the dough layers.
4. Here I have just made single folds, there is also a double fold which obviously gives more layers, but I opted for easy and quick, it was pretty humid when I was making this dough.
5. After the third and final fold and resting, you have the option of freezing the dough as a block, or shaping and freezing the croissants. Of course if you prefer go ahead, shape and bake.
No pictures of cutting and rolling, as I had too much flour on hands and other work duties, but you can find a good description where I did for the whole process, here and here.
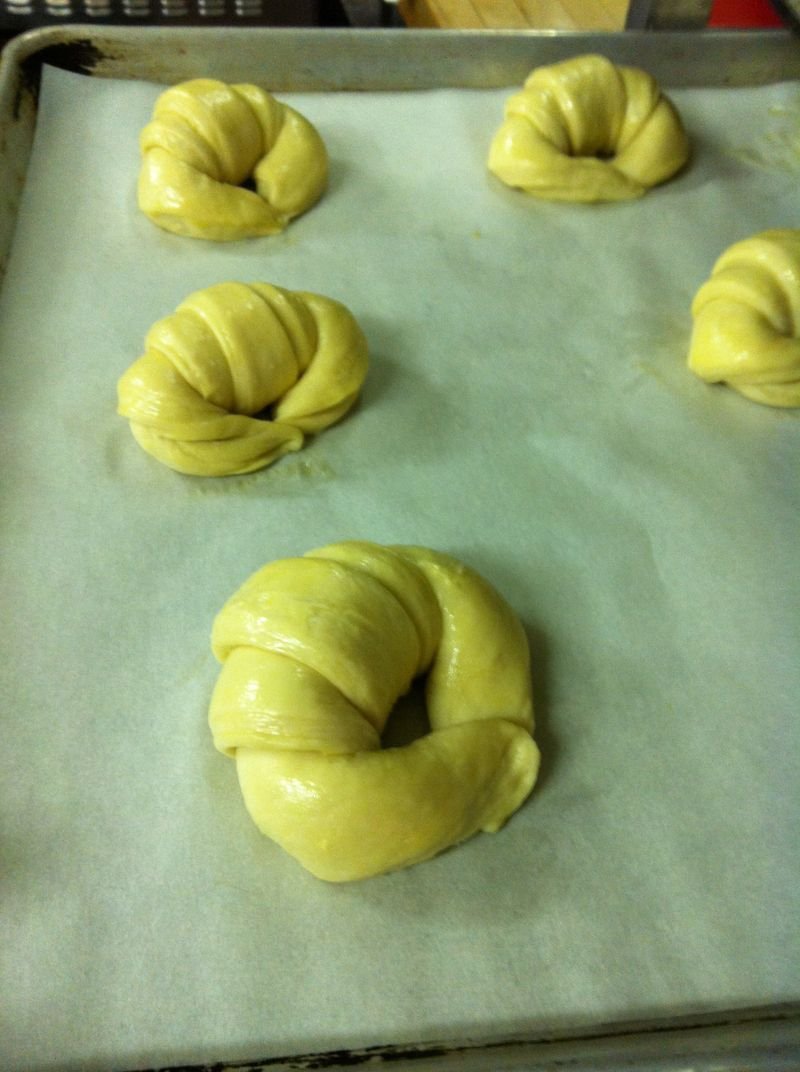
Just rolled and egg washed….now the wait, about two hours….
Risen, brushed with egg wash, soon, patience….
Puffed and ready for the fire!
There’s something about yeasty hot pastry….
I made a big batch of dough, my staff and I like coffee goodies….pain au chocolat, why not?

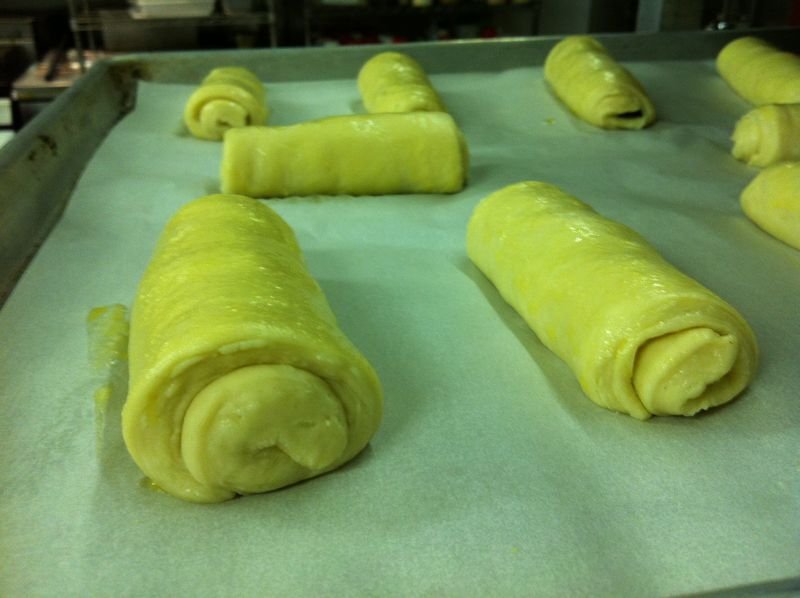
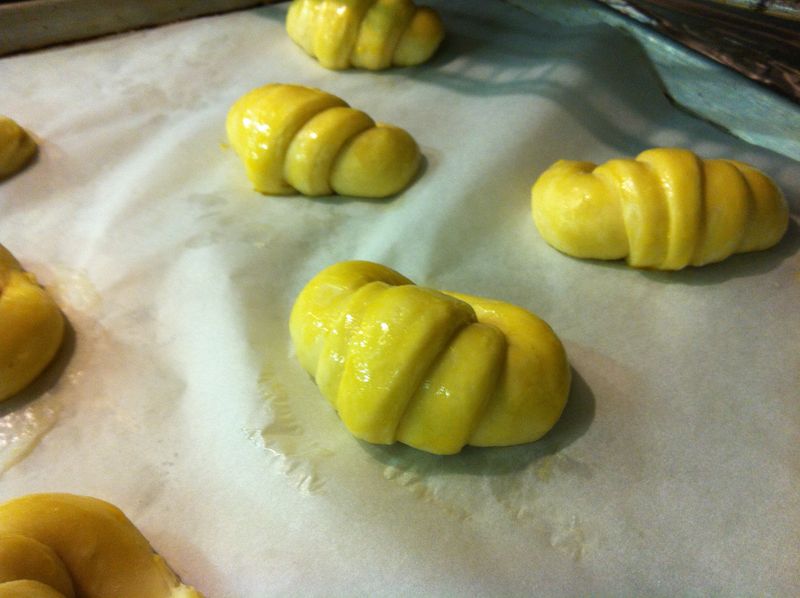
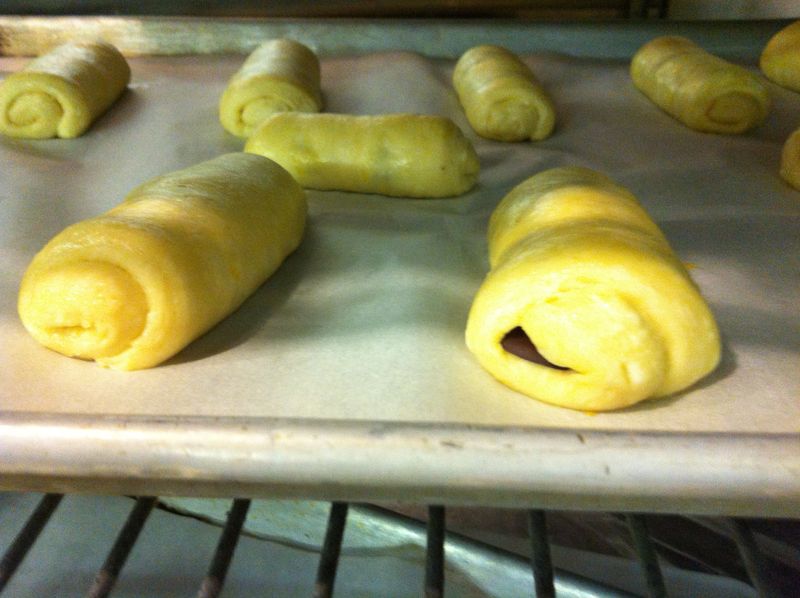


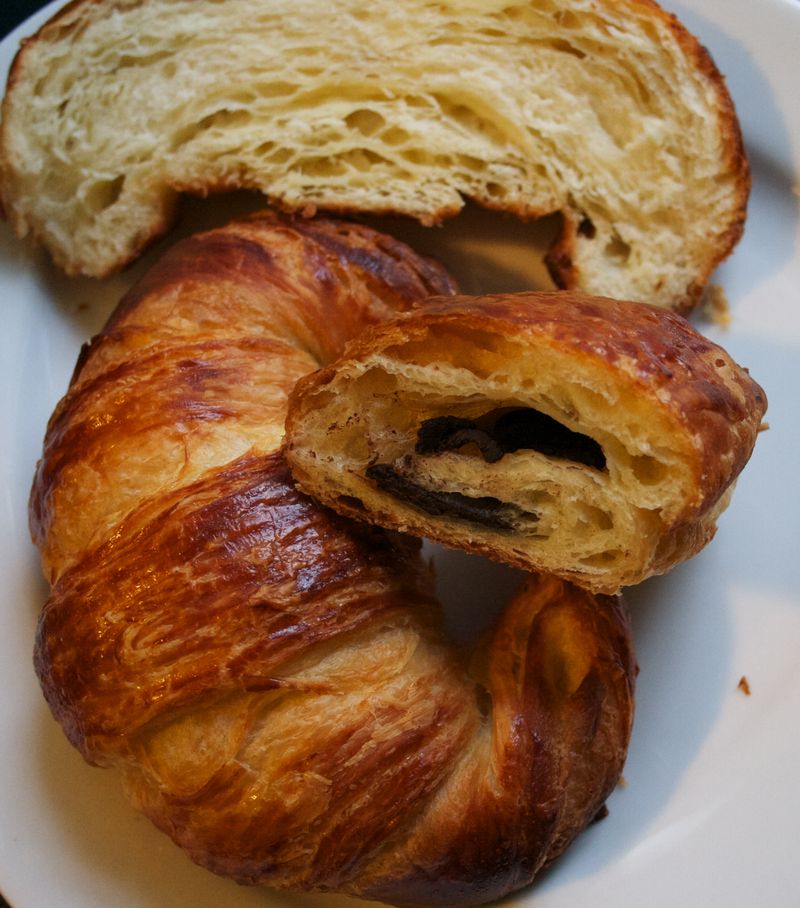
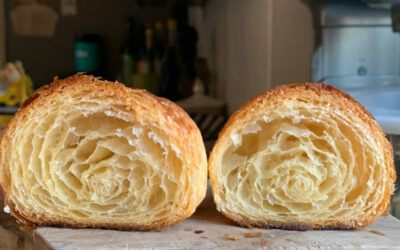

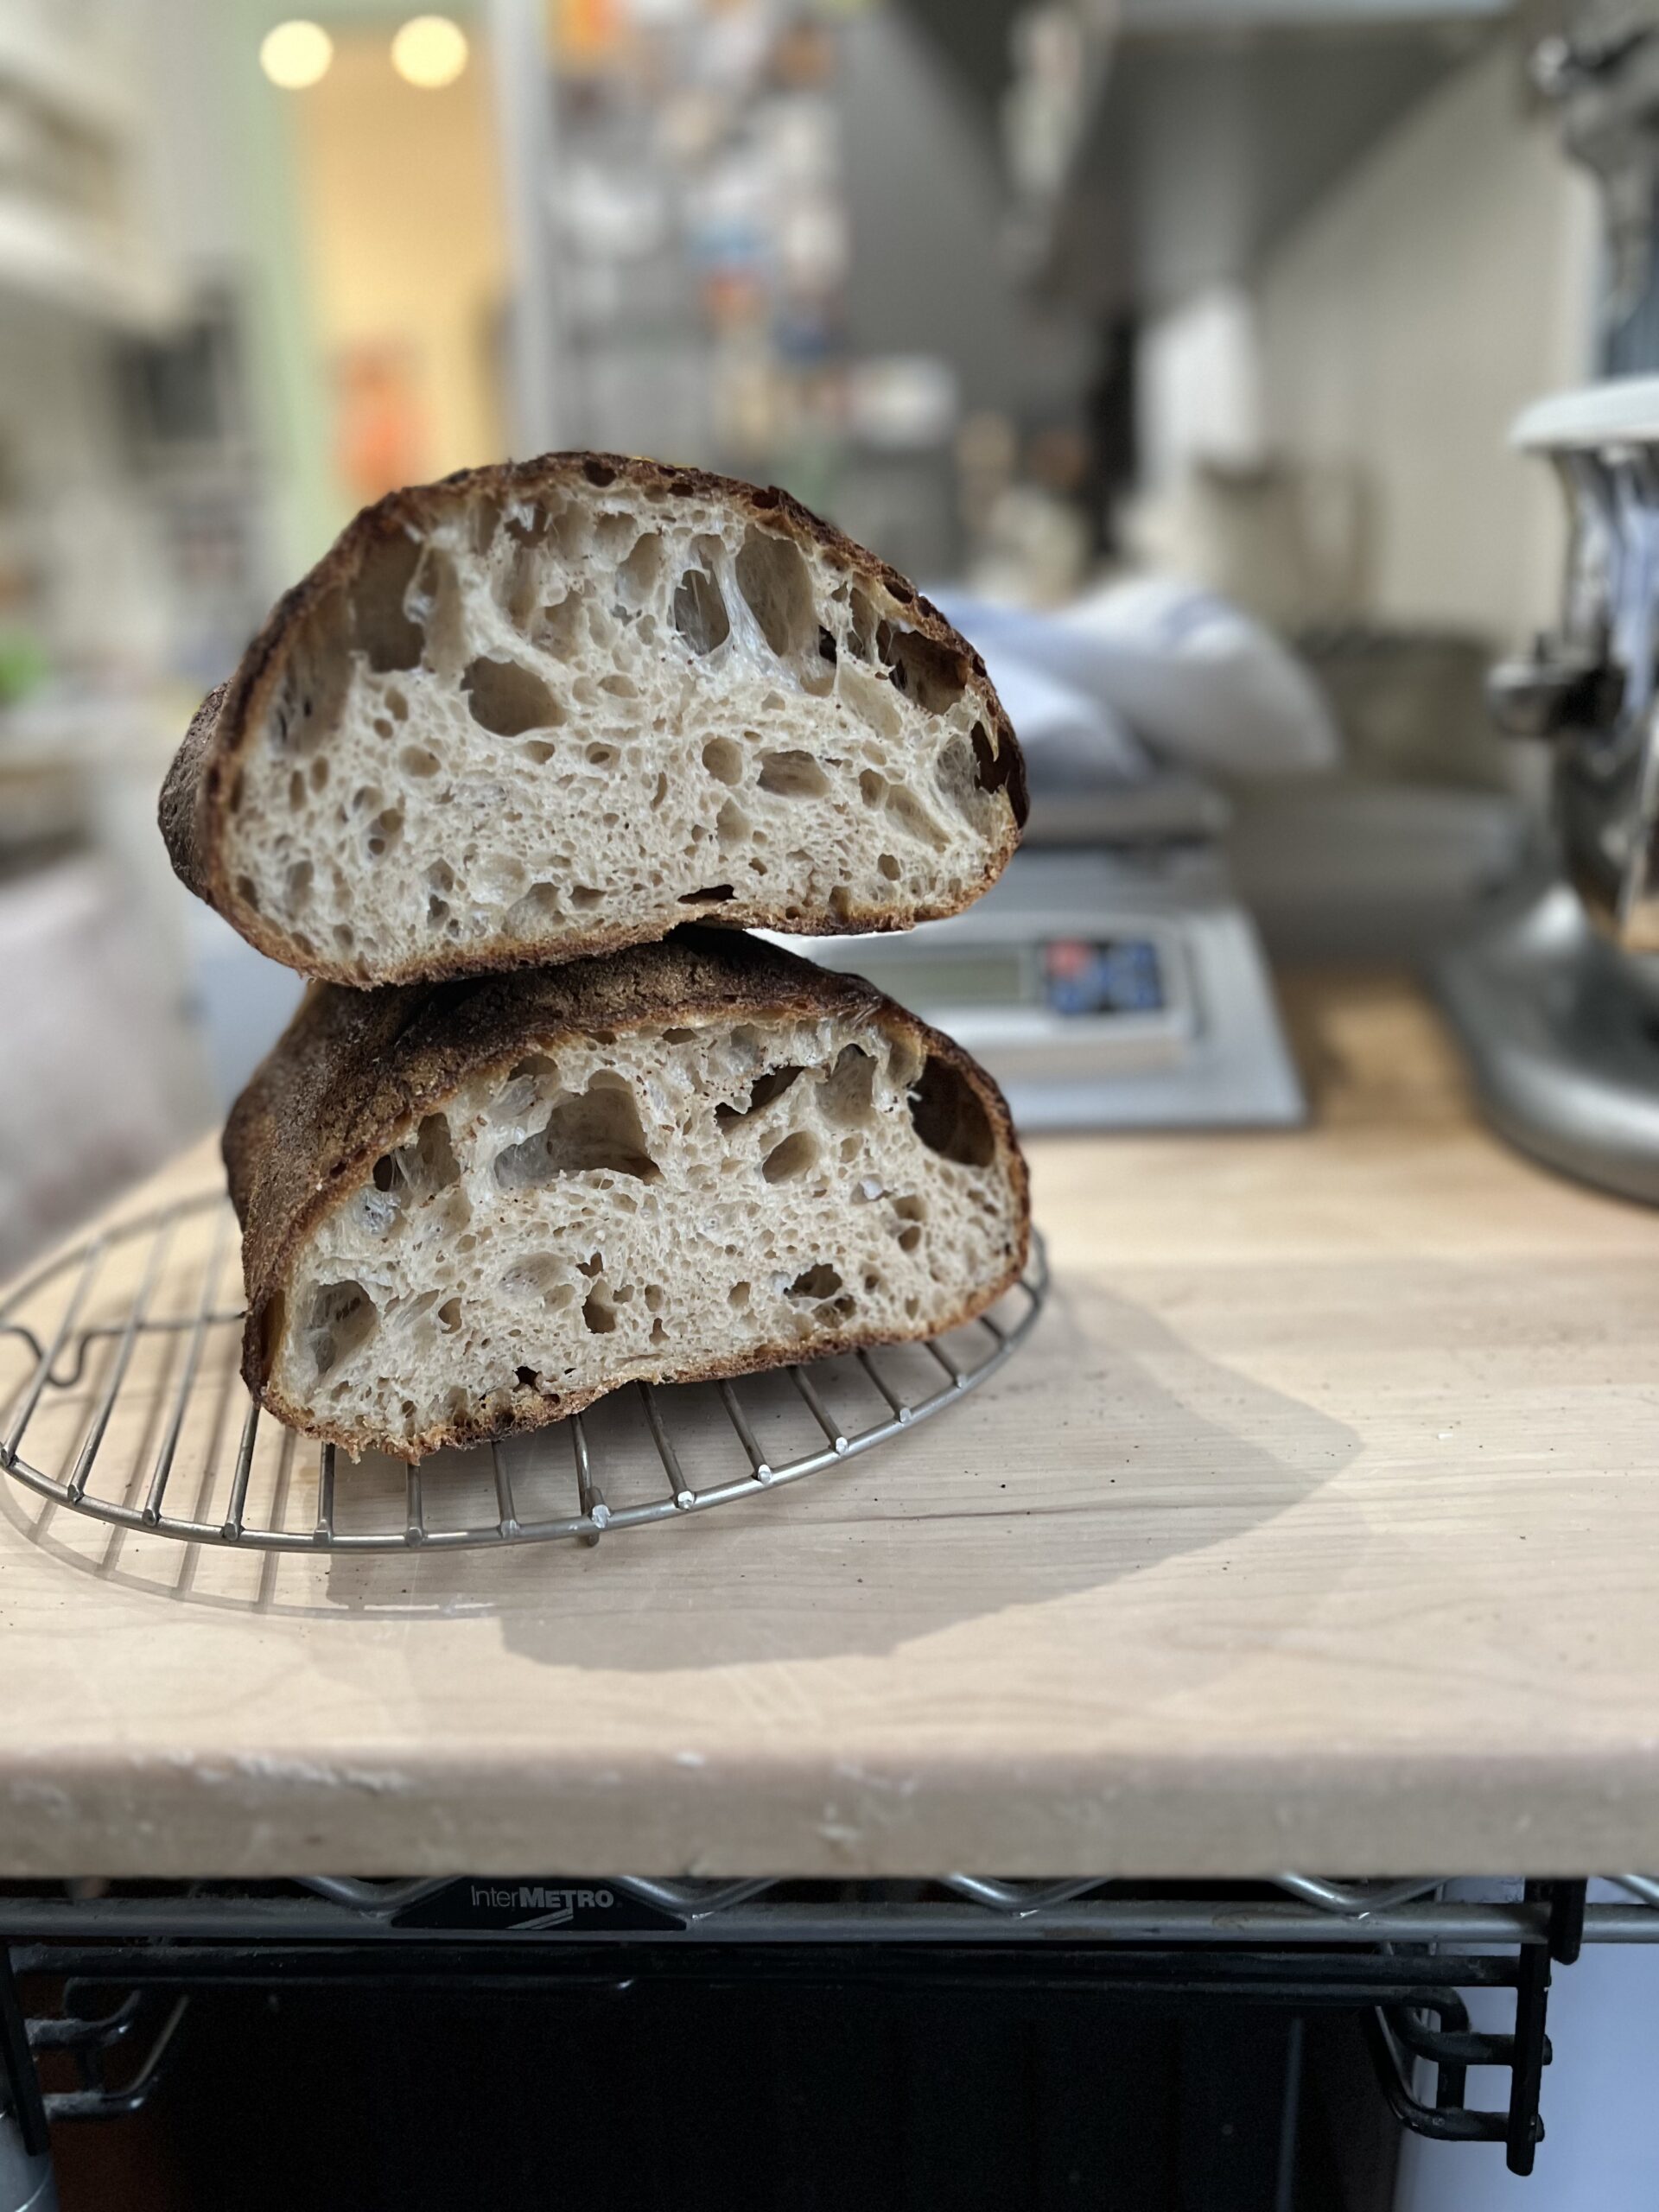
All too often, bloggers show cosmetically beautiful looking croissants, thinking their job is done. Fools.
It makes a nice change for someone to show us the insides, too, as this is where the true test of a croissant is to be found.
One day, I’d like to think I could make a croissant the equal of the examples you find in Paris. Unfortunately, I think, for me, that day is rather a long way off. ;o)
I tried to insert a hyperlink but the system didn’t like it. Examples of the Paris croissants I’m talking about can be found here:
http://www.parispatisseries.com/2011/07/21/croissants-of-paris-part-iv/
Well, I think they look great! I need to try making them sometime!
Oops. My earlier “long way off” comment was meant to reflect my own croissant-making abilities, not yours. Just thought I’d make that clear. :o)
Those look fabulous. What else can I say? And lots of useful information there for me to study. Still never dared to make croissants, I have always been put off by those films of laminators and thought I needed one of those. You make it look possible! If I could only figure out how to roll rectangles instead of odd shapes. I need remedial rolling training…Thanks Jeremy 😀
instead of making the dough and butter like this:
[=]
why not turn the butter 45′ like this:
[<>]
then you can fold the corners toward the center!
Thanks all, busy trying other grains for croissants, currently scratching the surface for a rye croissant….will see?